Some projects, like this deburring/countersinking tool sit on the back-burner for a long time. Dusting them off to finish the job feels like sharing a meal with an old friend. This deburring tool is a handy way I came up with to reduce the amount of time I spend switching between drill bits and countersinking tools to make clean holes in my metal projects.
As many handymen, handywomen, and fabricators know, deburring drilled holes makes them look smooth and professional quality. One way to get a good deburr on a hole is to use a countersinking bit in your drill to just graze the lip of the hole. The problem is that it’s a pain to swap out the drill bit for the countersinking tool. However, there is some relief from the tools already available. There are general deburring tools, speed deburring tools, or manual-style deburring tools shown below. But why buy a tool when you can make one that’s better?
General Deburring Tool, Speed Deburring Tool, and Manual Tool
This project started with a Yankee push drill. Basically, it’s a manually powered drill that turns the tip as you push down on the handle. The downward force is converted into twist by a mechanism with a steep-angled screw at its core. The chuck is designed to hold the small drill bits that come with the tool. Obviously, the small diameter tools won’t deburr anything very well, so I decided to swap it out for something more useful. I found this countersinking bit and quick-change chuck at Harbor Freight that would work out nicely.
 Quick-Change Chuck found at Harbor Freight
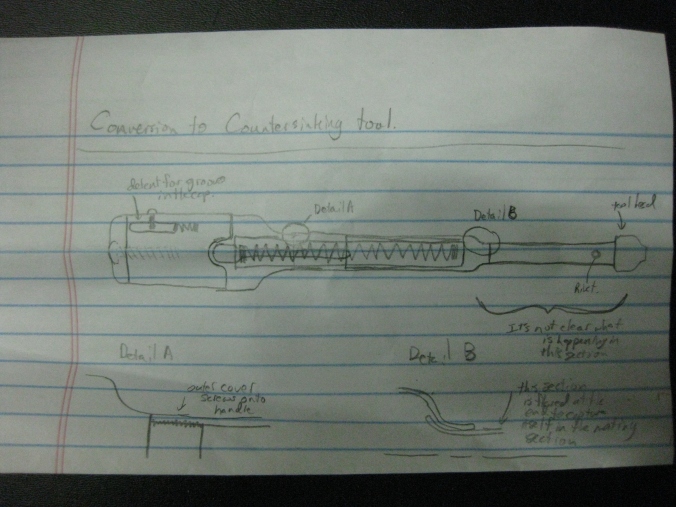
 Hand Sketch of the Internal Mechanism of a Yankee Drill
Before I disassembled the drill, I had to figure out how it worked so I wouldn’t compromise any critical features of the drill when I modified it. I made a sketch of what I found, shown above. The modification was easily done by drilling out the rivet holding the chuck in place, then using a lot of leverage to remove the press-fit chuck. (this drill was very well-built).
Drill Press, Chuck, File for Roughing, Sand Paper for Finishing
The internal diameter of the yankee drill was 0.34″, but the Harbor Freight chuck was 0.43″, so I had to turn it down some. I reduced the diameter of the quick-change chuck using my drill-press and a file. The slowest my drill press can go is about 550rpm which was fortunately slow enough to keep the file and chuck from overheating. I used a spring-pin to fix the chuck to the yankee drill and voilà! a new tool is born!


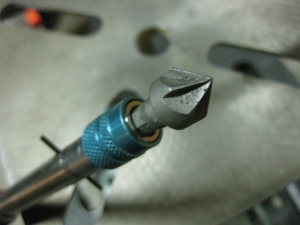
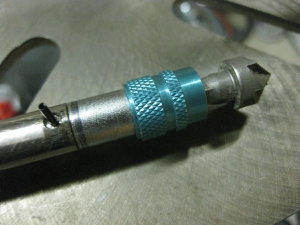
Finished Yankee Deburring Tool
That was my project day, how was yours?
Did you like It’s Project Day? You can subscribe to email notifications by clicking ‘Follow’ in the side bar on the right, or leave a comment below.


